PART ONE
This blog is for Pilates and Yoga Teachers, and
Students, as Well as Other Physical Disciplines.
This information is also Useful for Reiki Practitioners
and Teachers, Cranial Sacral Therapists and other
Body Workers.
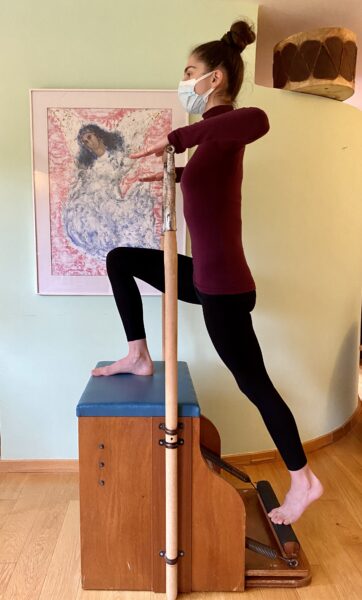
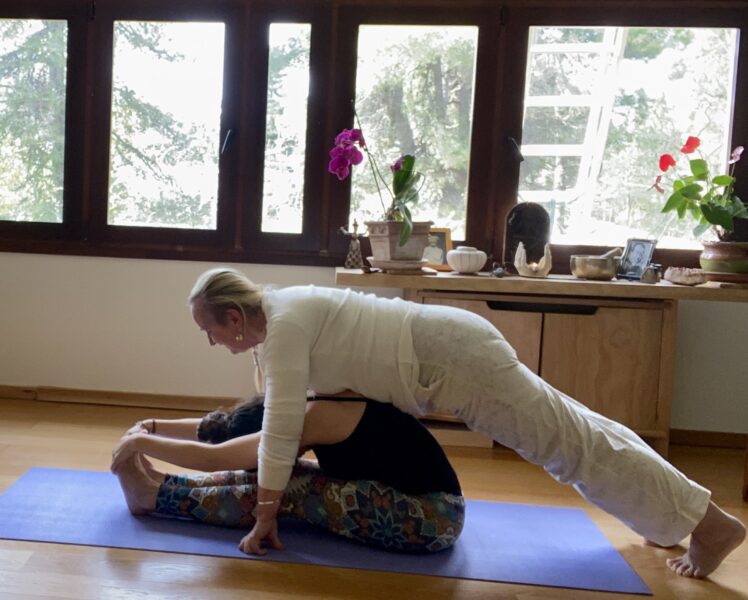
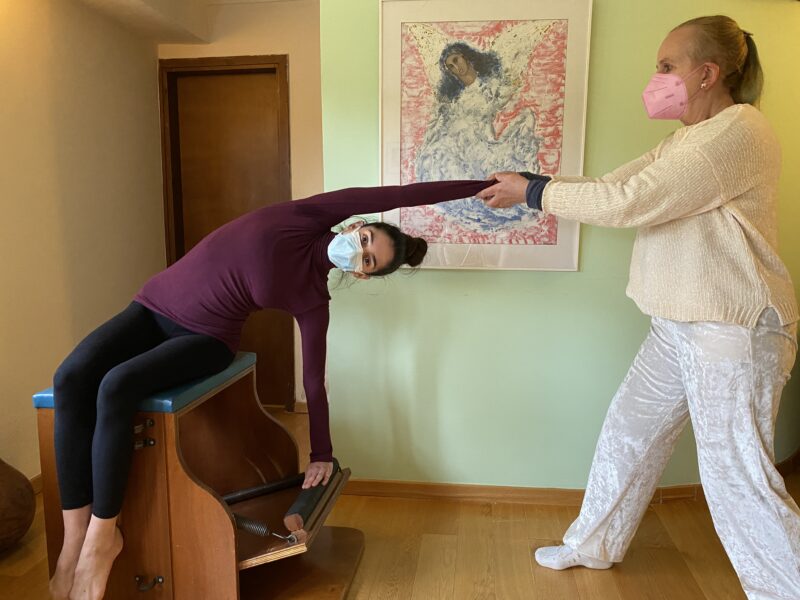
Touch Corrections from a Teacher and How a Student can Participate and Receive the Full Benefit of an Adjustment.
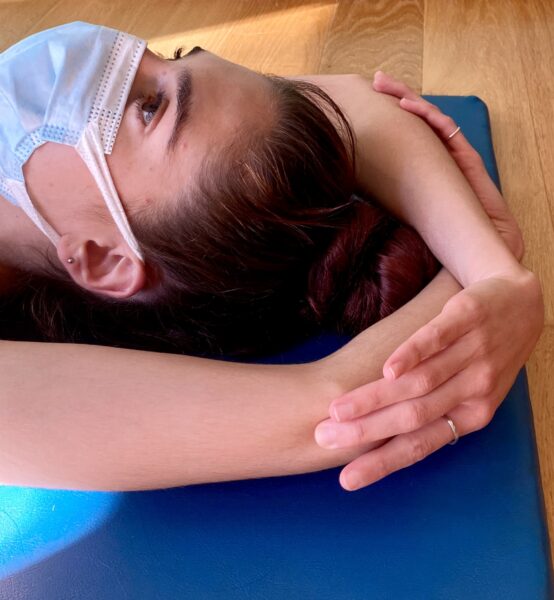
During the pandemic we were often not giving classes “live”, at all, and then, we were exercising with masks, and keeping our distance from one another. It is only recently that we have felt safe and comfortable enough to have “live” classes and, in cases where there is trust, for teachers start giving adjustments again.
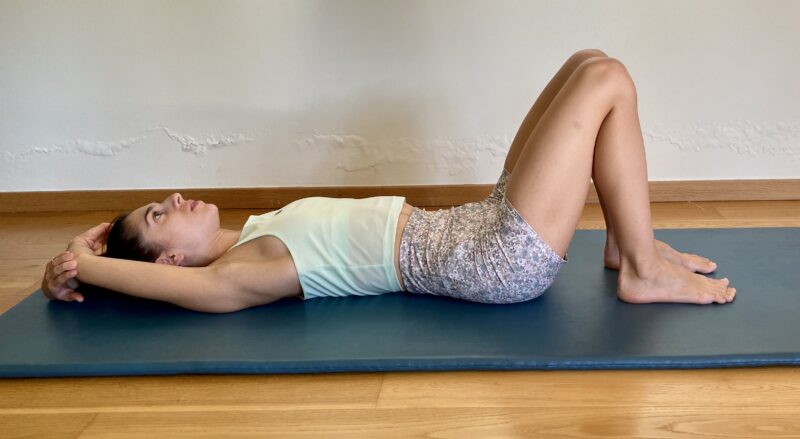
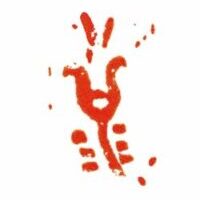
Touch corrections help the student to move into completely new spaces in their body. Without them the student may never understand how to move in a certain way or from a certain place. The experience can change, completely, how a student practices.
GET PERMISSION
It is absolutely essential to get the student’s consent before touching them.
Some countries are much stricter than others. You may need a written agreement.
My suggestion is that you use your instincts. It may be that you have a beginner and you see something that can be improved by a simple touch correction. A simple “May I touch you to help you?”is enough. Usually you get to know the student over time and, as you do, a trust is built between you.
Any adjustment needs to be completely ethical.
If you have any doubts, either from your side, or the side of the student, simply abstain from touching altogether.
As dancers (at least in my time) we were used to being touched. I never, ever, had a bad experience. I did have receive some amazing touch corrections that revealed very important things about my body, and my movement, that I had not realised with verbal instruction. Some touch corrections completely changed my practice.
It helps, and I enjoy the fact, that I live in a culture where people touch a lot.
Here are some guidelines.
LOVE
When we touch a person, we touch with love. I do not mean a personal love, and not a sexual love. Love is a quality, just as peace is a quality, that we sense. We can walk into a space and comment on how peaceful it is. I remember coming from work and entering a space where Reiki was being practiced. You could cut the feeling of love with a knife!
The love I am talking about is not personal. It has no expectations. It just is. As we practice having this stance, it is enough to just think it, and it happens.
People often open up and feel safe when they sense an atmosphere of love.
RESPECT
When we touch a person, we always do so, with deep respect. We honour the human being that has given us the gift of practicing and learning together.
Some people really need to feel respected.
A STANCE OF NON JUDGEMENT
Avoid judging. The minute you judge someone they immediately sense it and tense up. It is one thing to help someone to move deeper into a position or make them aware of an area of the body and another to judge. As a teacher or therapist it is important to leave doors to new information open. Once we judge someone it is as if we close the door to further information which may deepen our understanding as to why someone cannot stretch more or do a certain movement.
THERE ARE NO ROLES
Roles cause a sense of separation. We all learn and experience, together, as one. There is no teacher and student, no therapist and patient. We are one.
Yes, as a teacher may be bringing years of knowledge to the space, but as human beings, we are all interconnected, and the student also educates the teacher.
HOW STRONGLY DO WE TOUCH?
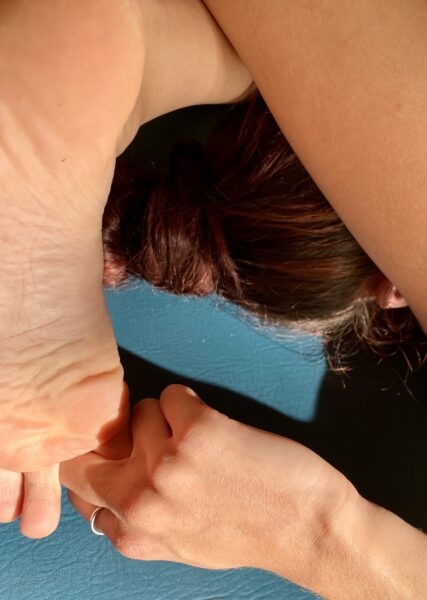
If we are drawing attention to an area of the body, or wishing to facilitate the fascia or cranial sacral rhythm, the touch needed is, as light as a leaf falling to the earth.
Do you as a person like to be pushed around? It is the same with our body, touch too firmly and with an authoritarian manner, and the body will react defensively and tense up. If we touch lightly and “listen” to the body, taking the stance we have mentioned above, the body is likely to respond.
If we sense any internal movements happening, it is important to follow those movements as closely as possible, trusting in the wisdom of the body. It will always lead to an unwinding or release.
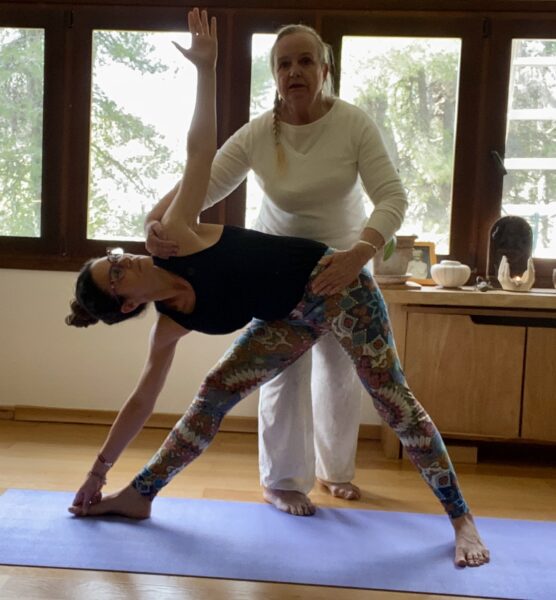
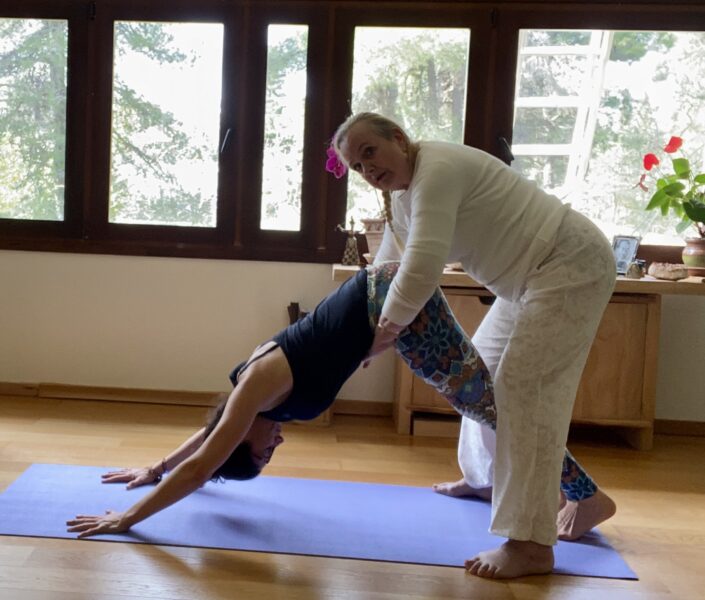
Some adjustments that that we do in Yoga and Pilates may involve quite a lot of firmness, or even using our own body weight. It is essential that the teacher knows exactly what she or he is doing and can, tune into, listen to, the body of the student, and gradually ease his or her body into the desired space.
There is never any harshness or violence involved, ever. You can easily injure someone if you are abrupt and push.
RELAX YOUR HANDS
When touching someone or touching ourselves. Keep the palms of the hands and the fingers relaxed. Usually the fingers are gently closed in order to focus into the body.
We have energy centres (chakras) in the palms of the hands and on the pads of each finger.
HEALING PRESENCE.
We cultivate a healing prescience. We as teachers and therapists emanate love, openness and respect.
HEALING SPACE
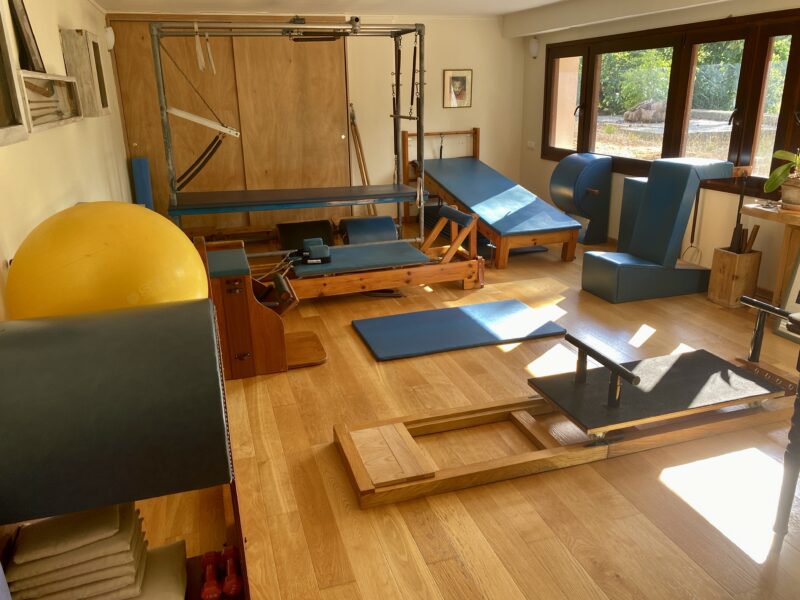
When we step into our Pilates studio, our Yoga Shala, our Reiki Space we are stepping into a space which has gathered the energy, over time, of love, respect, peace, openness……a place of support, learning and healing. When we step into that space we change, we are more present and professional.
Students feel this, of course. My students at Illium, in Kolonaki, described feeling a sense of peace and calm as soon as they entered the front door.
VIRTUAL HEALING SPACES
I have learnt, through the pandemic, and teaching on line, for the first time, that the same sense of love, respect, peace and openness can be created, just as strongly, with on line classes.
USE YOUR BREATH TO FACILITATE TOUCH
Start matching your own breath to that of your student. This will bring your two energy fields into harmony and balance and can facilitate what you wish to communicate or achieve.
ADVICE FOR STUDENTS
Only allow teachers and therapists who you completely trust to touch you.
Some people may be very nice, well meaning but they are not meant to work with you in this way.
I remember, many moons ago, I had a very sensitive spine, and when I had pain, I would go to my mentor, the late Lena Trifonopoulou, for treatments. One day, a really lovely lady, turned up at Illium. She was a a physiotherapist and she wished to work with us. I would always “audition” people who wanted to cooperate with us. I told her about the history of my spine. I remember she was so nice, she must have given me a little massage etc and she finished the session with a classic series of moves to test the mobility of the spine. Nothing harsh. The next day my back was out. I went to Lena and she started scolding me “Why did you let “anyone” touch you?” I was defensive, I smile remembering it, I said, “but she was so nice”….I learned my lesson.
Lena, on the other hand, could work miracles with her amazing hands and presence.
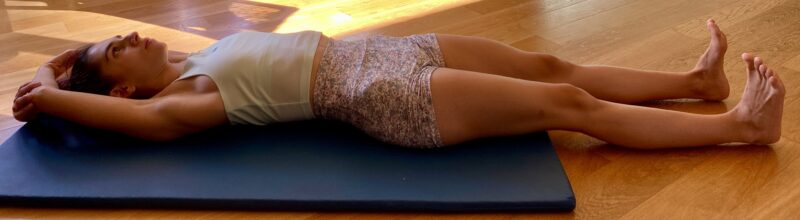
Once you have made a decision to trust someone in this way, stay as open as possible, as soft and as receptive as possible. Give in, surrender ….breathe and enjoy the ride!!
YOU MAY ENJOY
My You Tube video https://youtu.be/tgfqDcJYb7M of the Spine Roll on the Reformer that includes a variety of touch corrections.
My Reiki 1 Circle which meets live and on Zoom every month.
Ask to be put on my mailing list to receive all the information for each month.
The next Reiki 1 Circle is Saturday 13 May 2023. 18.00 – 19.00.
Email me for the link.