
Part 2.
THE BREAST BONE.
The breastbone (sternum) is made up of three parts.
Between each of these three parts there is a joint, a space that allows movement.
There is also movement available between the breastbone and each rib. You can imagine the ribs like soft, delicate fingers—flexible, sensitive, and capable of subtle motion.
Every joint that connects to the breastbone represents a possibility for movement. This mobility is not only important for physical health, but also for our spiritual well-being, as the breastbone is part of the physical area associated with the spiritual heart centre (the heart chakra).
When we practise sensing and moving these joints with softness and delicacy, we open pathways of ease in the body. Many people find this work deeply relieving for shoulder tension and stiffness.
Exploration

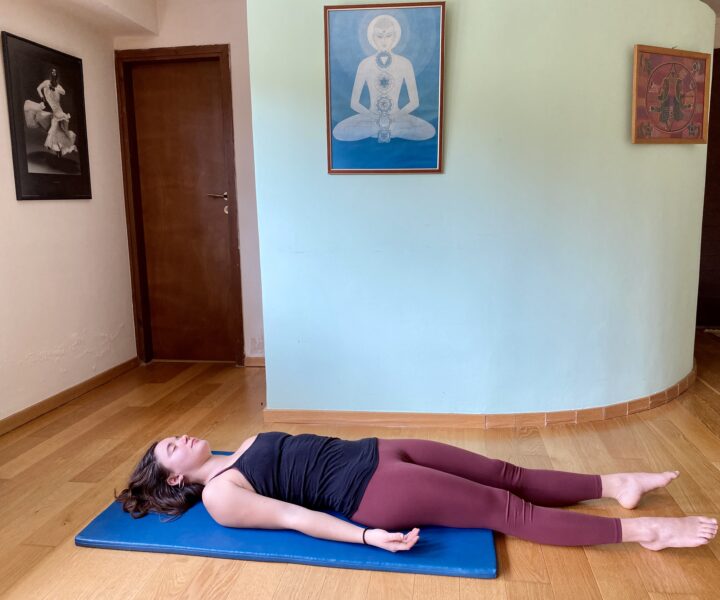
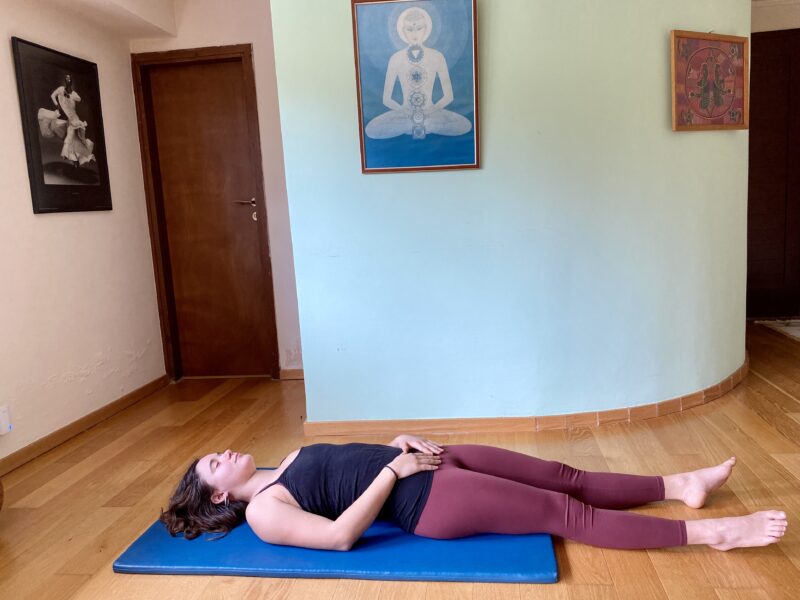
You can do this practice sitting or lying down. Lying down often makes it easier to relax completely.
Place the pads of your second, third, and fourth fingers, of both hands, along the centre of the breastbone.
Touch very gently—as lightly as a leaf falling to the earth.
Always touch yourself with respect and love, the way you might touch a newborn baby.
Be open, receptive, and aware, allowing your body to inform you rather than trying to control it.
Gently attune to your breath and notice the natural rise of the breastbone as you breathe in, and its soft release as you breathe out. There is nothing to force—this movement happens on its own. You may find that as you relax, the movement becomes richer and clearer.
As you breathe, sense the expansion of the breastbone both lengthwise (between its three parts) and sideways (between the sternum and the ribs). When we become quiet and attentive, we can feel how much movement is present even in this simple act of breathing.
Exploration with Movement
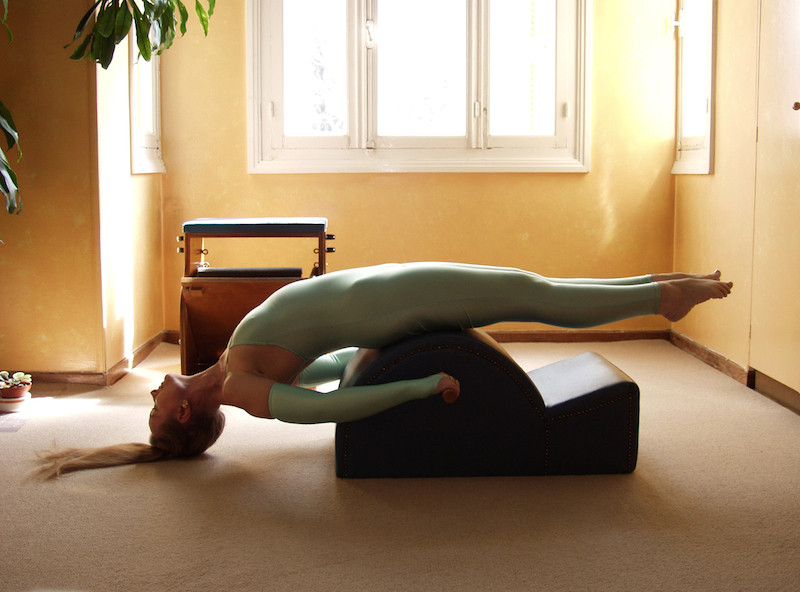
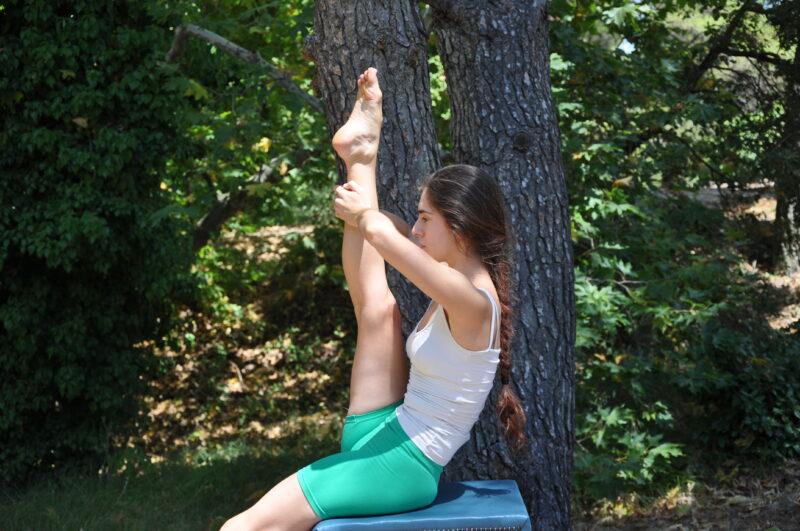
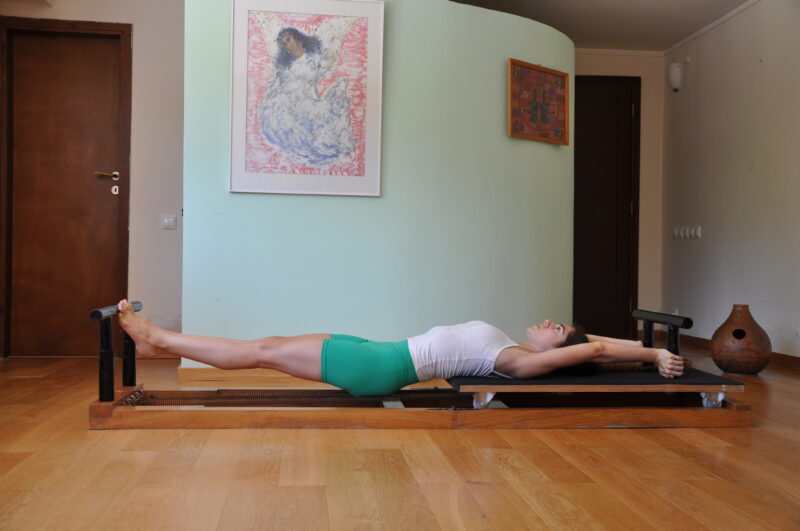
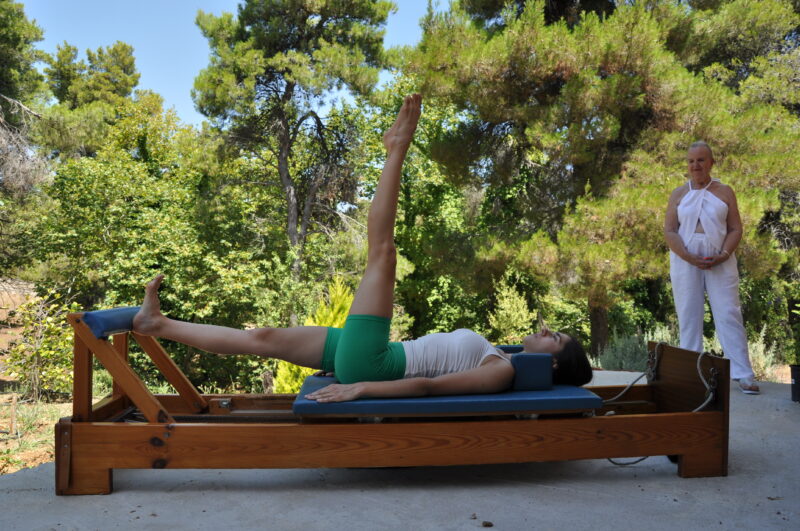
Both yoga and Pilates include movements with rounded backs and arched backs. This exploration supports both practices beautifully.
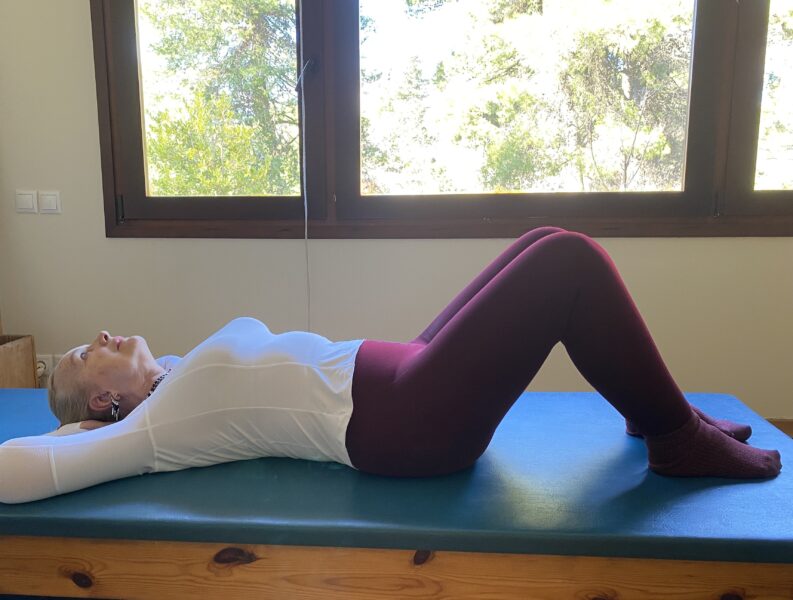
Starting Position
Sit with the soles of the feet together, knees gently open, keeping the position relaxed and easy.
Find a straight, neutral spine—in Pilates this is called the second position of the spine.
Place the pads of your second, third, and fourth fingers again on the breastbone.
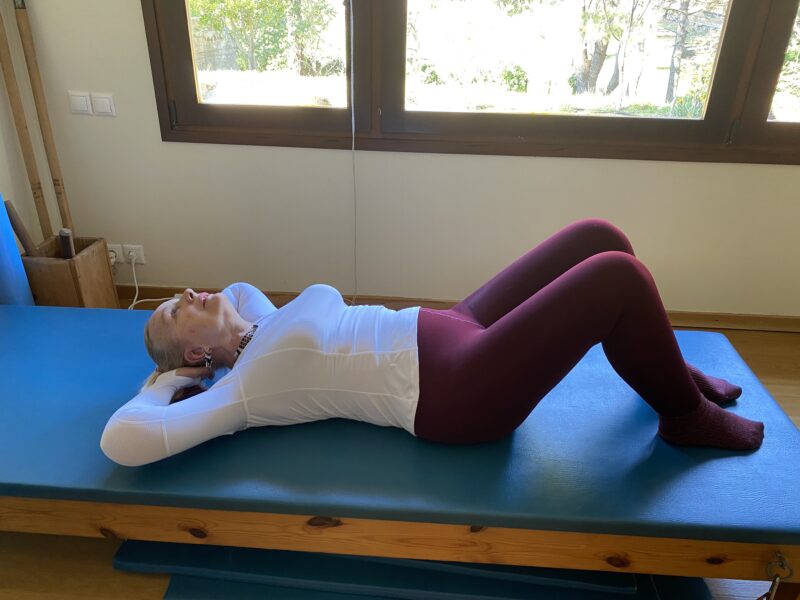
The First Spinal Succession or Rounding the Spine
Using an out-breath (or several out-breaths), begin to round the spine from the very tip of the coccyx.
Imagine rounding one vertebra at a time along the back edge of the spine, finishing with the upper neck, the centre of the head, and finally the crown. You can think of the head as the last vertebra for the purpose of this movement. Please refer to my blog about the first spinal succession https://jennycolebourne.com/jerome-andrews-pilates-the-first-spinal-succession/
To fully and richly round the spine, the front of the body must soften—including the breastbone.
Use your fingers to gently encourage the breastbone to release inward, exploring whether there is more space to soften.
Allow the back of the body—muscles, fascia, and the space between the shoulder blades and ribs—to spread wide. Let the lower back and pelvis soften and open as well.
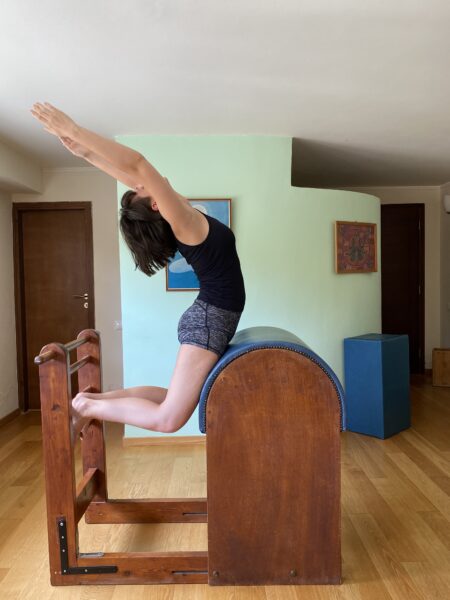
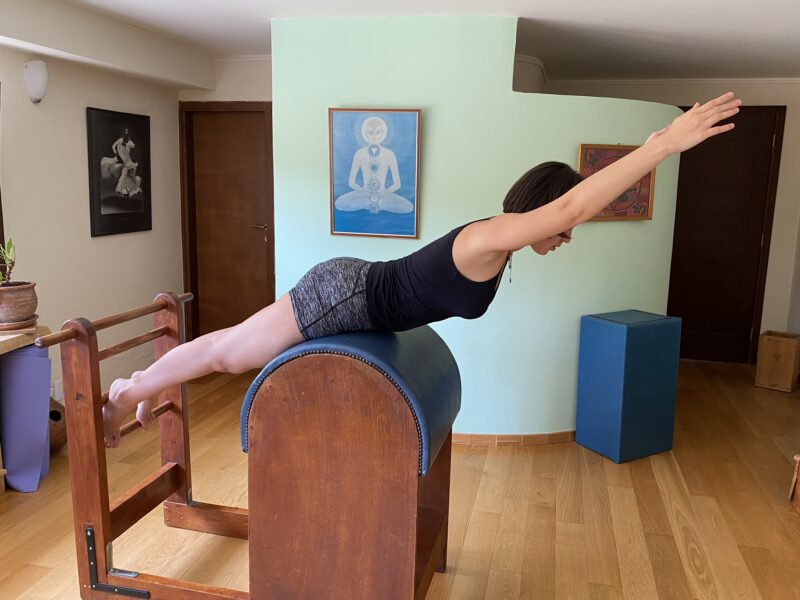
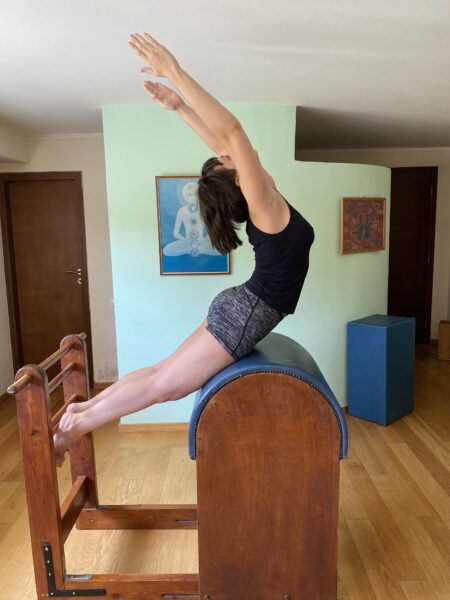
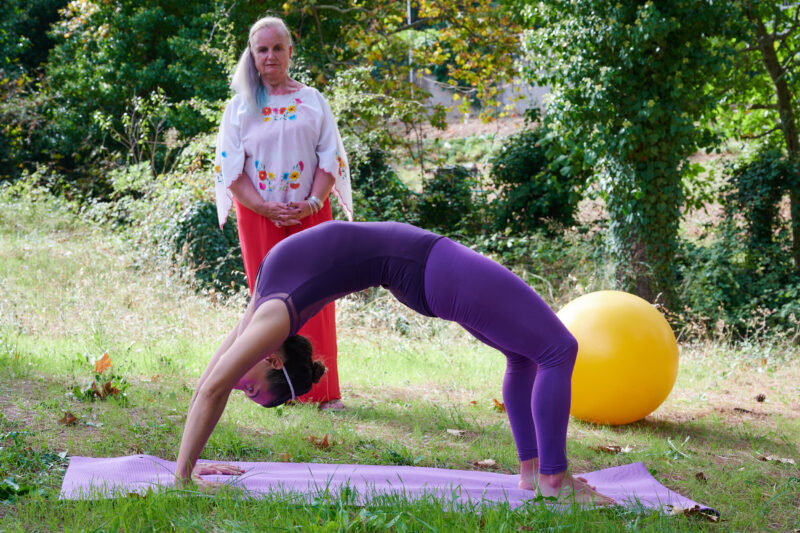
The Third Succession or Arching the Spine
Using another out-breath—my wonderful teacher Sonya Solange Minton described this as a soft blowing breath, as if blowing out a row of candles far away—begin moving into the arched spine, or third position of the spine.
Start once again from the tip of the coccyx.
Send the coccyx gently behind you.
To do this freely, the hip joints—especially the fronts of the hips—need to be very soft.
As you move into the arch, focus on the front edge of the spine. Allow the spaces between the vertebrae to open like fans, one by one, all the way to the top of the head.
Imagine a string attached to the centre of your breastbone, gently drawing it forward.
As the breastbone moves forward, the shoulder blades slide closer together—not because you squeeze them, but because they naturally follow the movement. This allows the front of the body to open richly and spaciously. Refer to my blog about the third spinal succession https://jennycolebourne.com/the-third-spinal-succession/

If you would like to see this work in action, please visit my YouTube video: https://youtu.be/ciat0FX2-DI?si=tkejSBKJt3D3ihCK
“The Fish Pose: Yoga Knowledge, Heart Energy & the Power of Sound”
with my yoga teacher trainee, Stella Tzovara.