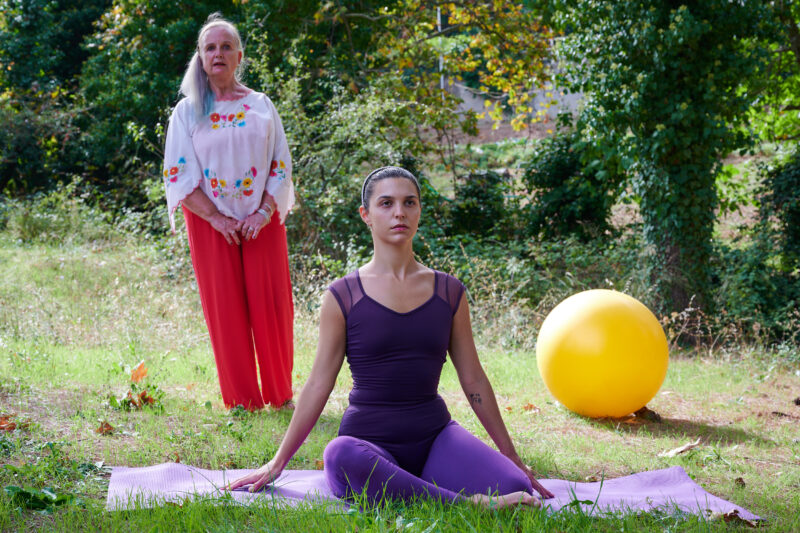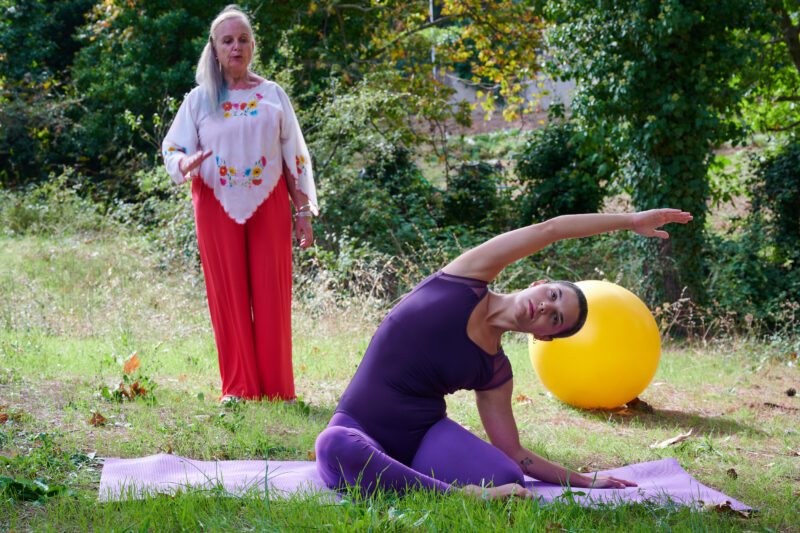

INTELLIGENCE MOVEMENT AND MULTI FACETED AWARENESS
Some years ago, a fascinating experiment was conducted at Middlesex University in England. The goal was to identify which students had the highest IQ. Surprisingly, it was the dance students who scored highest.
This challenged a belief I grew up with — that intellectual achievement was the only true marker of intelligence. Over time, and through nearly 50 years of working with the body, I’ve come to understand that intelligence expresses itself in many forms — not just through words or numbers, but through movement, awareness, presence, and subtle sensitivity.
A friend recently sent me a list of famous people with high IQs — among them were many actors and performers. One of the highest scorers? The actor behind Mr. Bean! This only further confirms the deep intelligence involved in creative, embodied expression.
Subtlety Is Power: Why Detailed Instruction Matters

There’s a current trend in teacher training that encourages giving students only short, simple cues — quick sound bites. While this might suit fast-paced commercial settings, I believe it diminishes the profound intelligence that conscious movement can cultivate.
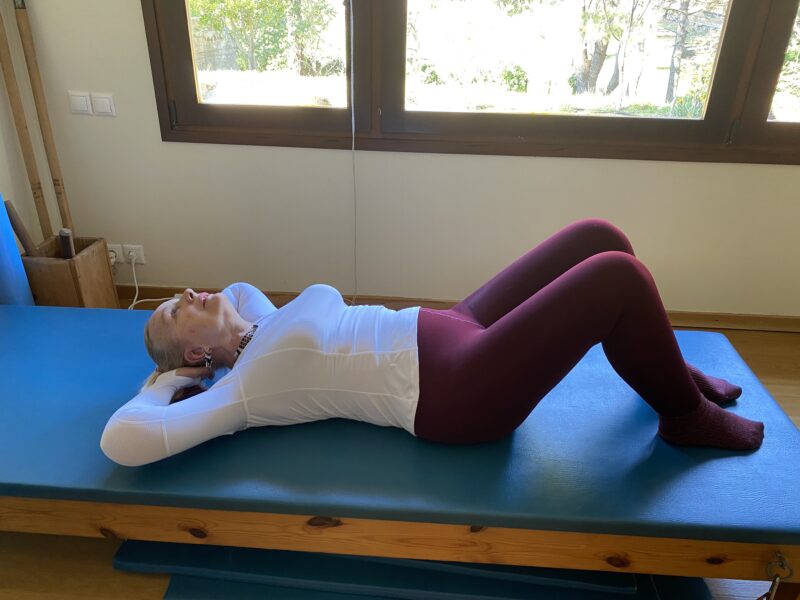
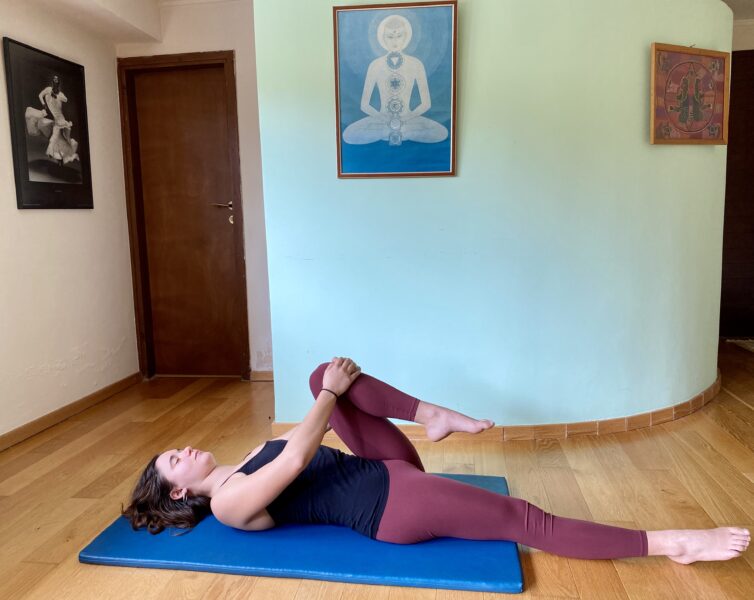
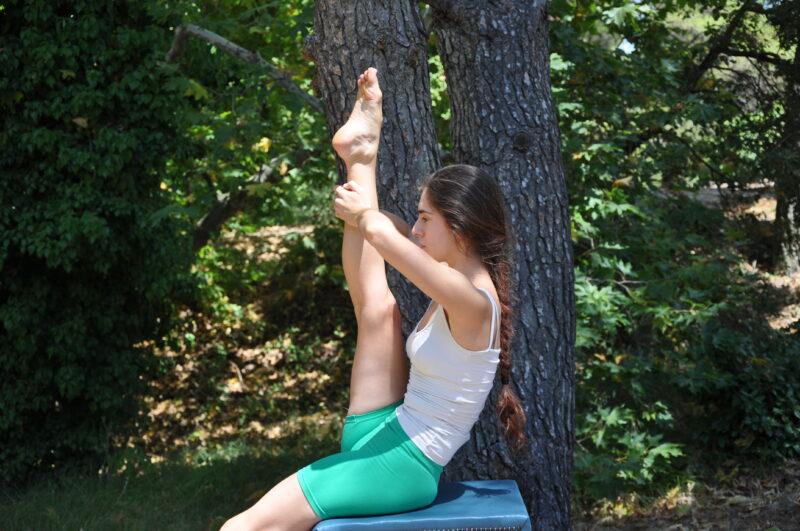
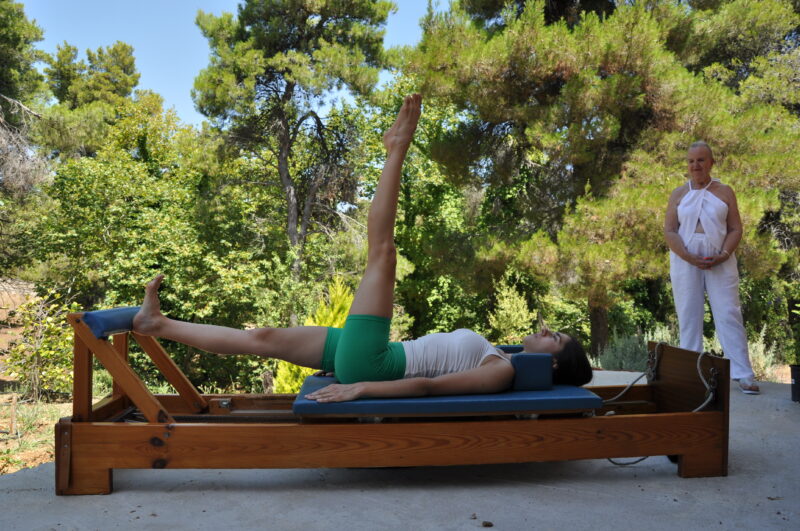
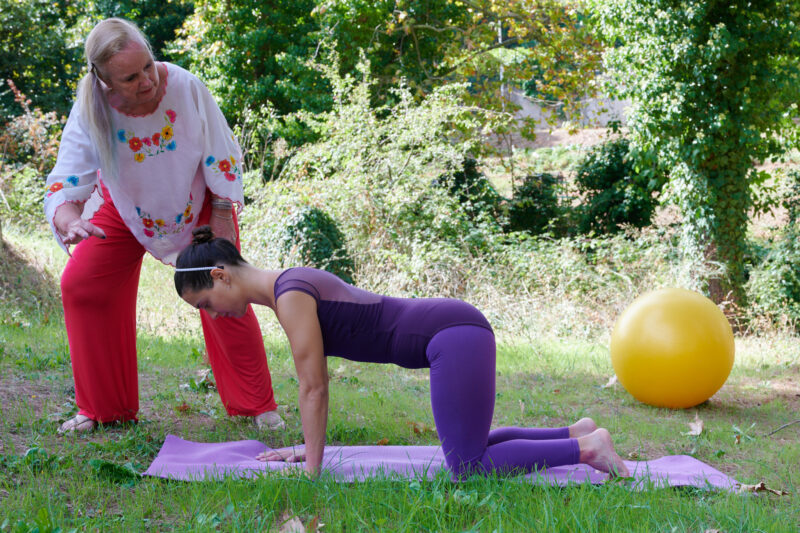
When we slow down and offer detailed, subtle instruction, something magical happens. We engage attention, we stay curious, and we begin to co-create with the body’s wisdom. Subtle awareness is not boring — it is profound and fascinating. We awaken the intelligence of every cell, and begin to listen deeply to what the body needs in each moment.
🧘♀️ The Brain’s Natural Role — And the Gift of Ease
True embodiment gives the brain a chance to rest. It allows us to step out of the constant overuse of thinking and drop into something quieter, deeper. When we are over-tired, the brain suffers. But when we move consciously — with breath, softness, and intelligent attention — we activate the whole system in a balanced way.
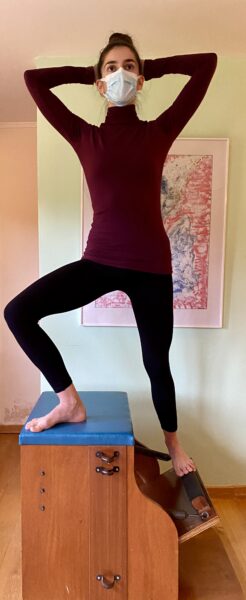
It doesn’t matter who you are — young or older, a truck driver or a dancer, new to movement or deeply experienced — when you give yourself permission to move with sensitivity and presence, you enhance your ability to do many things at once. You awaken joy, resilience, and healing.
This kind of integrated awareness helps us:
🌬 Float on the breath
🌊 Surrender to gravity
🦴 Soften the joints
💫 Let go of effort and move with kindness
And yes — it’s fun! We laugh when things don’t go as planned. We delight in discovering a new sensation in the spine. It’s joyful, it’s playful — it’s life.
💥 The Power of Awareness in Healing
As awareness grows, we begin to heal trauma stored in the body. This doesn’t mean the process is always easy — but it becomes meaningful and alive. We begin to apply what we’re learning, and the transformation becomes real.
For some, this might mean:
🌟 Standing upright with ease
🌟 Letting go of chronic back pain
🌟 Releasing tension headaches
🌟 Feeling balanced and emotionally steady
These are life-changing shifts, and they emerge not from pushing harder, but from becoming more aware, more sensitive, more in tune with ourselves.
🧬 Intelligence of the Cells: A Cellular Awakening

If you’ve been attending my classes in recent years, you’ll know how passionate I am about awakening the intelligence of the cells.
Why wouldn’t we listen to them? We have trillions of them, each one carrying information about our development, our health, and even our ancestral lineage. This isn’t just poetry — it’s biology and lived experience.
At one time, I thought my deep sensitivity was a problem. I even tried — briefly — to make myself less sensitive. But I now see that this sensitivity is my gift. It’s what allows me to teach, to heal, and to connect on a profound level.
Being sensitive does not make you weak or less intelligent. It makes you attuned. And attunement — to self, to others, to movement, to breath — is a gateway to our full human potential.
💖 Final Thoughts

Whether through Refined Pilates, Yoga, Reiki, or Cranial Sacral Therapy, the intention is the same:
✨ To awaken awareness
✨ To move with joy
✨ To heal, transform, and live fully
If this resonates with you, I invite you to explore with me — to move, to learn, and to discover just how intelligent, vibrant, and alive you really are.
Explore more on my YouTube channel — here’s one video to get you started: https://youtu.be/Y0ExvY0anLk
I’ve written many blogs over the years. One explores the importance of leg alignment — essential for all movement practices. You can read it here, and feel free to explore the others too. https://jennycolebourne.com/good-leg-alignment-is-essential-for-everyone/