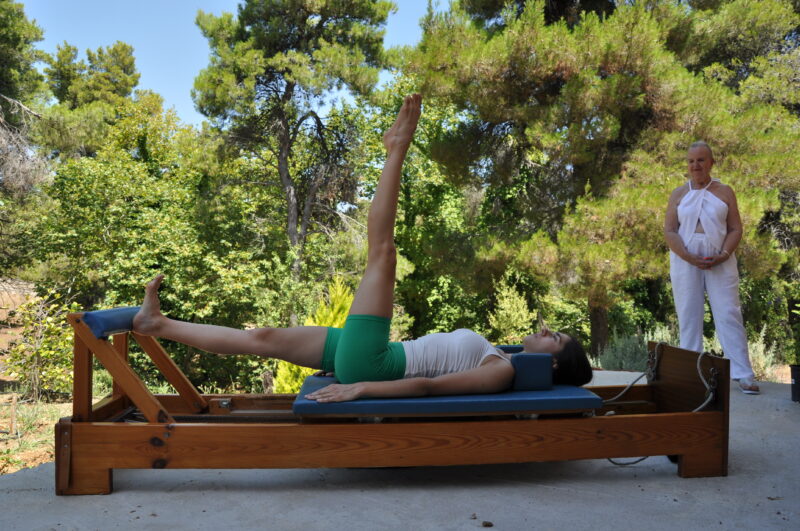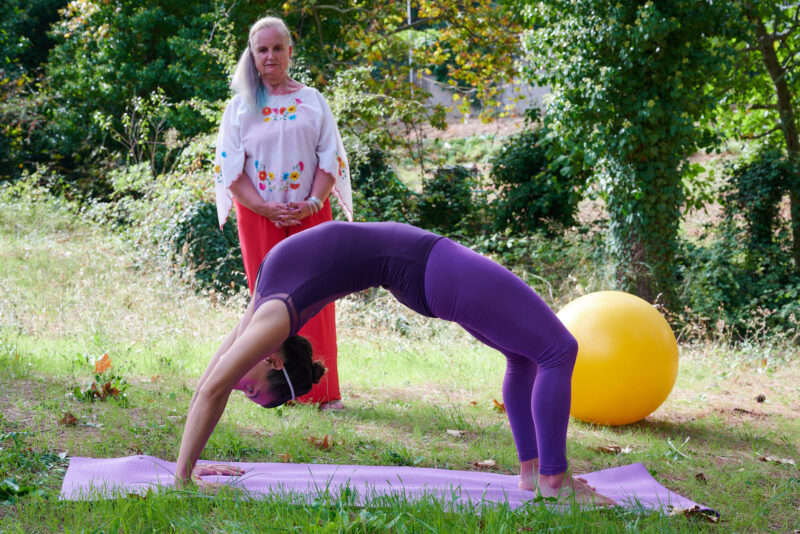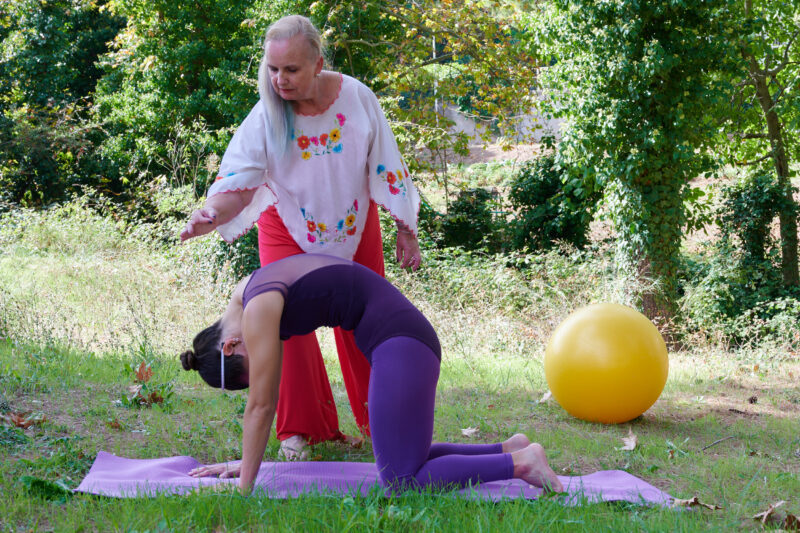
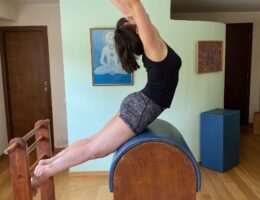
I love the high barrel as a piece of equipment and the round surface of the barrel is friendly towards the body, and the feeling of being high up gives you a different perspective. For older students, it’s a change to be looking and perceiving, from a higher place.
Starting position
Always really take your time to set up your starting position. Avoid rushing. If you start well, the rest of the exercise will follow in a good way
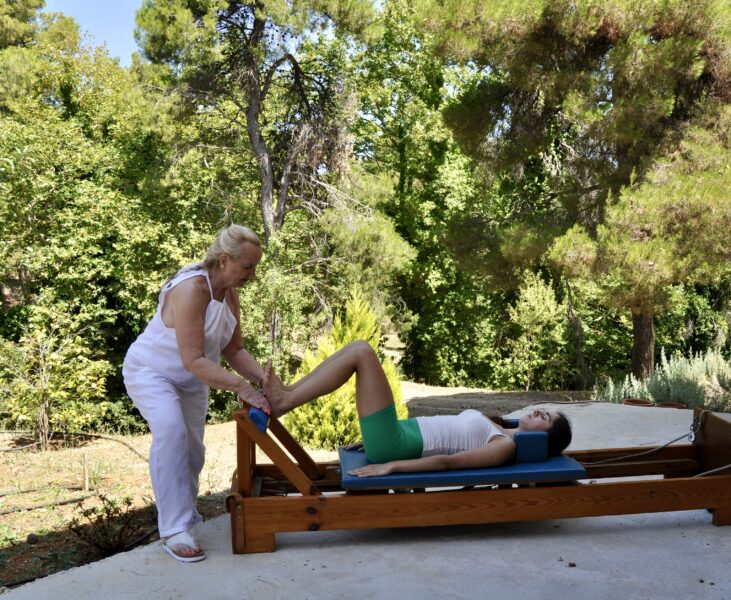
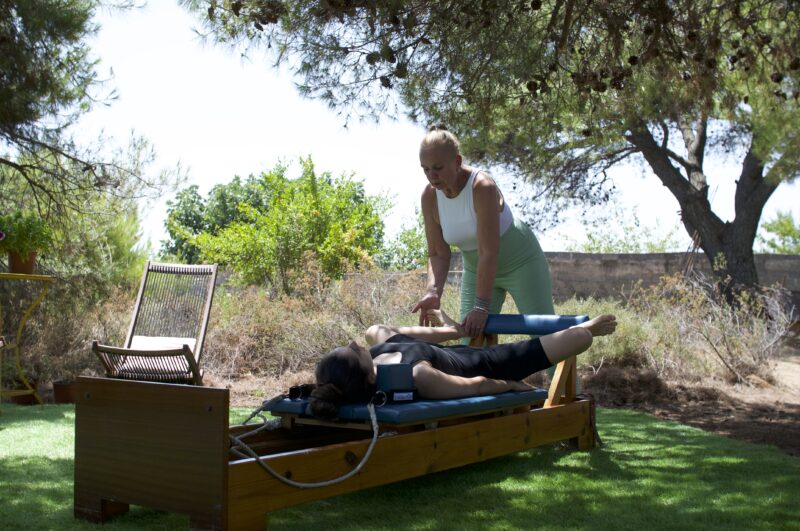
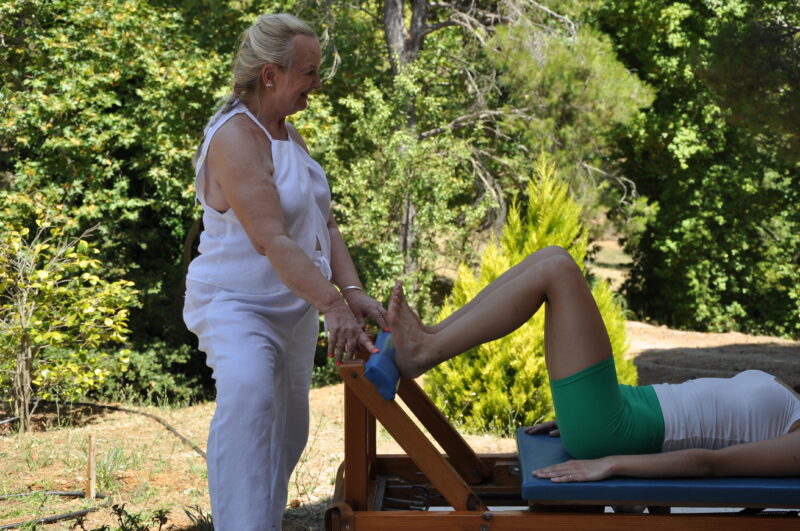
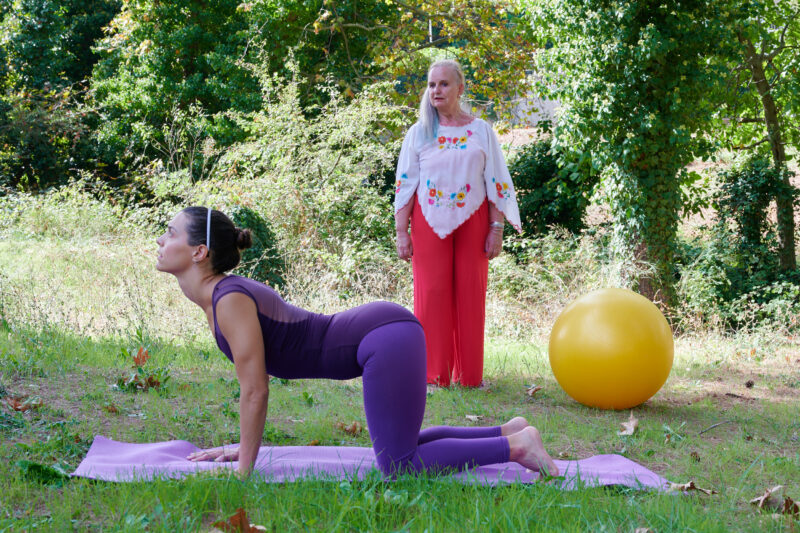
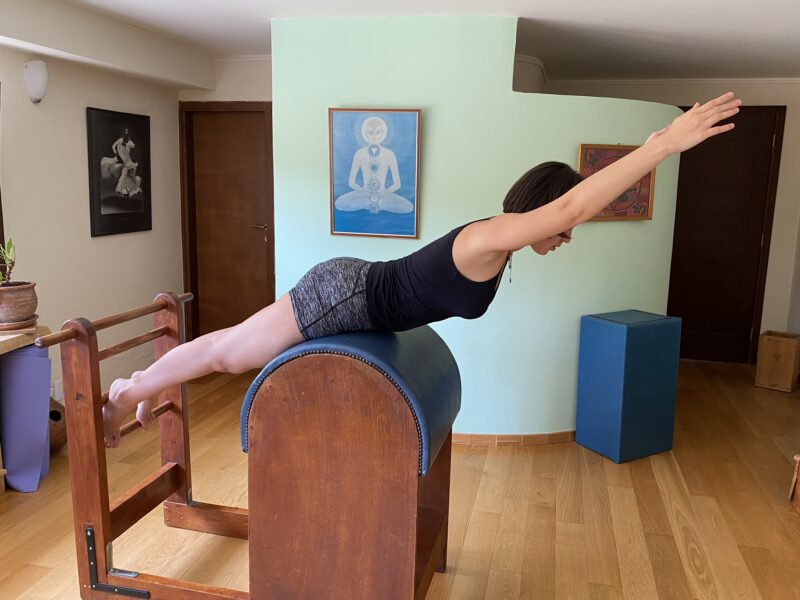
Lie over the top of the barrel spread your toes and place them on the lower rung of the barrel. Wiggle them before to get a sense of the space between the toes. The toes are apart and the heels together, in a soft “V” or first position. The knees are open shoulder width apart. It’s important to engage as many of the toes as you can on the lower rung because they will be an important site support when you start the exercise.
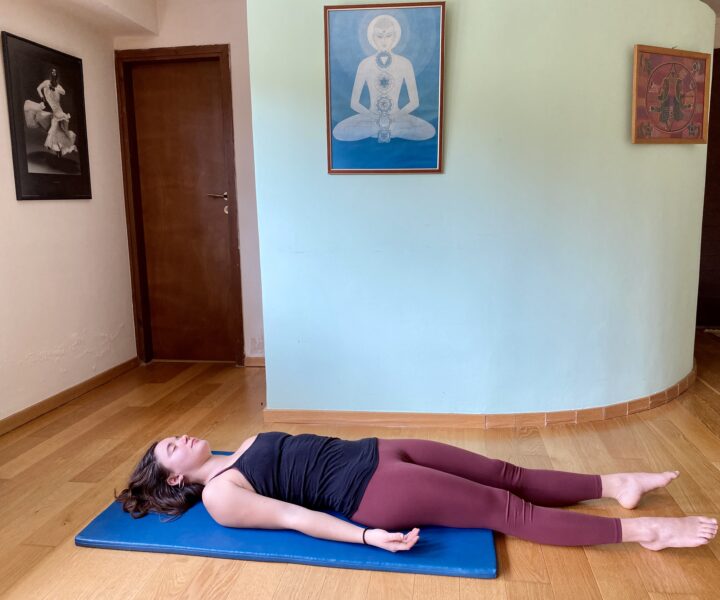
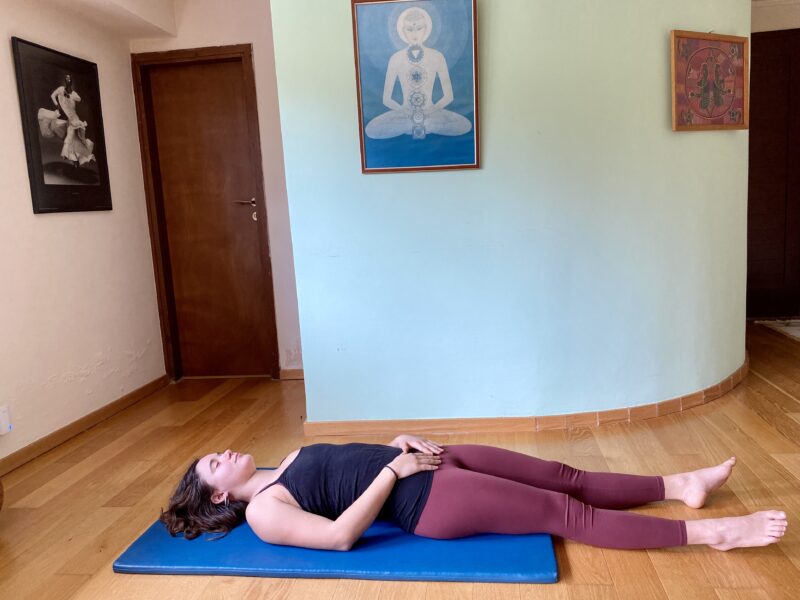
Draping yourself over the barrel, on your tummy, make sure that the hips are on the same level as the shoulders. Relax in the hip joint and allow the coccyx, or tailbone, to soften and hang towards gravity.
The softly, straight, arms are relaxed forward, next to your ears. Make sure the head is completely surrendered towards gravity. I find it useful to relax between the top vertebra of the neck and the vertebra that is melded in to your occiput.
Remember that your pubic phone will always be in touch with the surface of the barrel, especially when you go into the arches. It is a site of support, it supports your arch, so it is , leans against the surface of the barrel.
TAKE A NICE DEEP BREATH IN
The breathing is rich but never strained.
The breath always initiates the movement. It starts just a little bit before the movement.
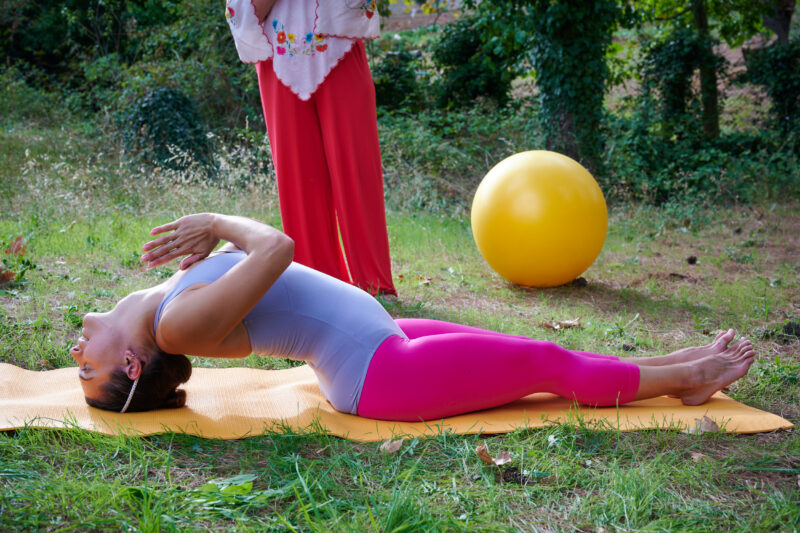
Make sure that your toes, the pads of your toes, are strongly against the bar, feel the pubic bone firmly against the surface of the barrel and begin the third spinal succession following the front surface of the spine sending one vertebrae at a time up and back, opening spaces between each vertebra. Look at my previous blog where the third spinal succession is explained in detail. https://jennycolebourne.com/the-third-spinal-succession/ The process starts at the toes, ends up at the top of the head, culminating in you feeling an energetic line extending from the top of the head.
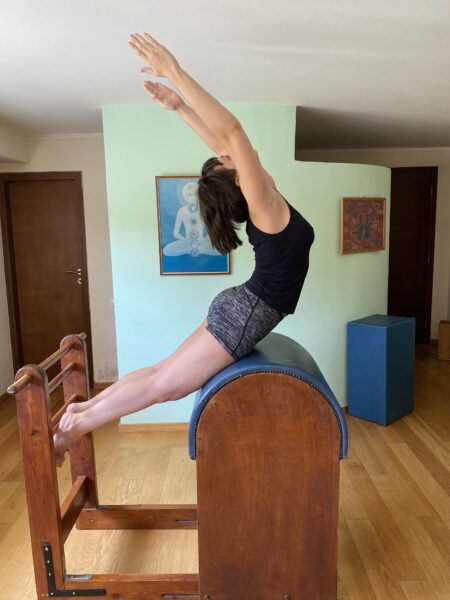
The arms come naturally up next to the ears.
It’s very important to be very soft at the back of you, very soft in between the shoulder blades. Softening in that space, helps you open the collarbone and send the shoulder joint back of the collarbone. The spinal succession is always the first thing to study after that you can begin, “decorating the cake” Begin enhancing the movement with the breath. Let the in breath take the ribs up and back supporting your arch.
BREATHE OUT FULLY
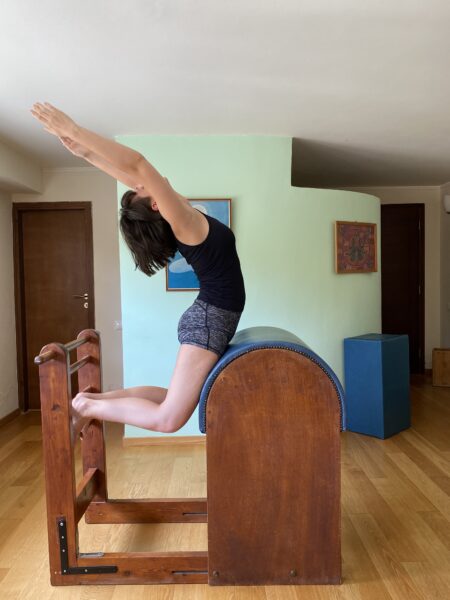
Send very positive energy from the toes, in between the legs, out through the centre of the spine, moving into the second position of the spine, on a diagonal. The spine is straight. When I say the spine is straight, it’s moving along an axis, the natural curves of the spine, and the flexibility of the spine, are still present on that axis. It feels a little bit like you’re superwoman or superman as you lengthen forward. The legs straighten, the crown of the head is lengthening on a diagonal forward. if you would like more details about the second position of the spine, and how to achieve it, check out my blog . https://jennycolebourne.com/second-spinal-succession-and-position-for-refined-pilates-and-yoga/
BREATHE IN EASILY AND DEEPLY
When you breathe, it should be rich but easeful. Never strain.
This time be very firm with the legs. They stay straight. You may feel the movement more restricted. Avoid your thoughts getting stuck there. Follow the instructions for the third position of the spine. As you arch, feel the energy passing up from the pads of the toes, through the front of the legs, through the front of the vertebrae. It is even more important to be very soft at the back of you, at the same time, as you really use the pads of your feet and press with them. Feel energy passing from the parts of your toes out through the fingertips.
BREATHE OUT COMPLETELY
You have two movements on the out breath.
Return, using your feet, using the straight energetic line to go to the diagonal, superwoman, superman, second position of the spine, a straight spine, lengthening out of the crown of the head.
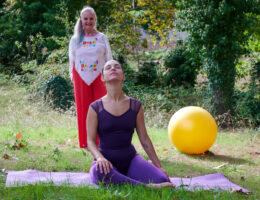
Then you bend your knees and relax back down into the beginning position, being careful to keep the shoulders in in the same line as the hips. Relax the hip joint and let the tail hang.
REPETITIONS
The Swan is repeated, with care and attention to detail, 3 to 5 times
Each repetition is different.
Listen to the body and respond to the changes that occur throughout the movement.
The Swan is an intermediate exercise. It is an exercise that calls for flow and grace.
EVERYONE CAN ENJOY THIS EXERCISE
As long as attention and loving care are applied to the details of how we do each movement, to a certain extent these things are covered in our basic lessons, that prepare us for a more advanced Pilates practice, as long as this is paid attention to, I see no reason why most people of all ages shouldn’t do the exercise of all ages do this exercise with the exception of pregnant mothers after the third month
The Swan is wonderful for everyone. It’s fun. It’s pleasurable.
It’s particularly beneficial to people that have tendency to kyphosis and to scoliosis.
Enjoy being a swan on the High Barrel.
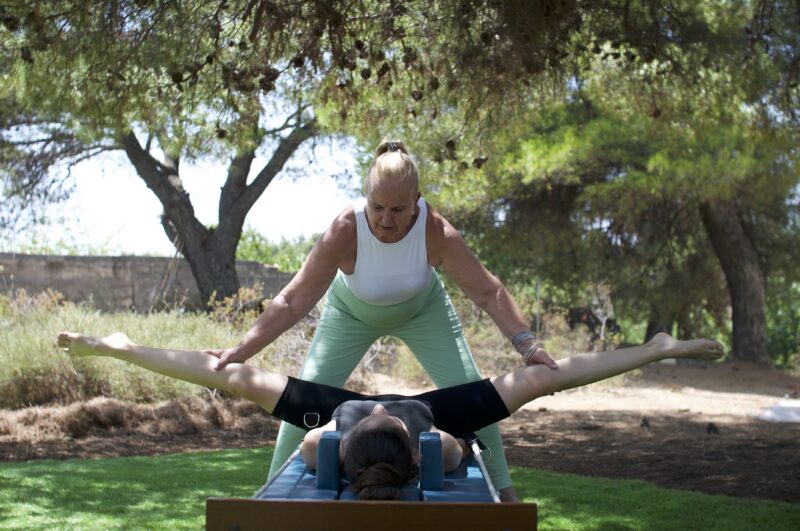
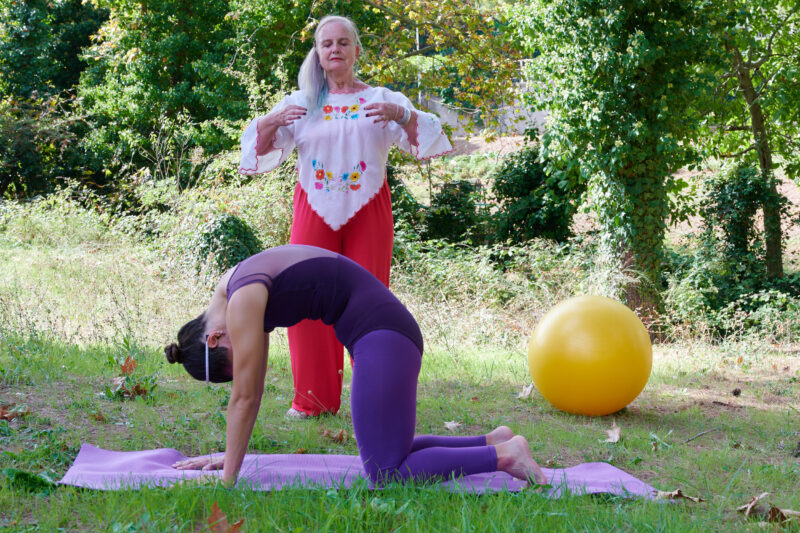
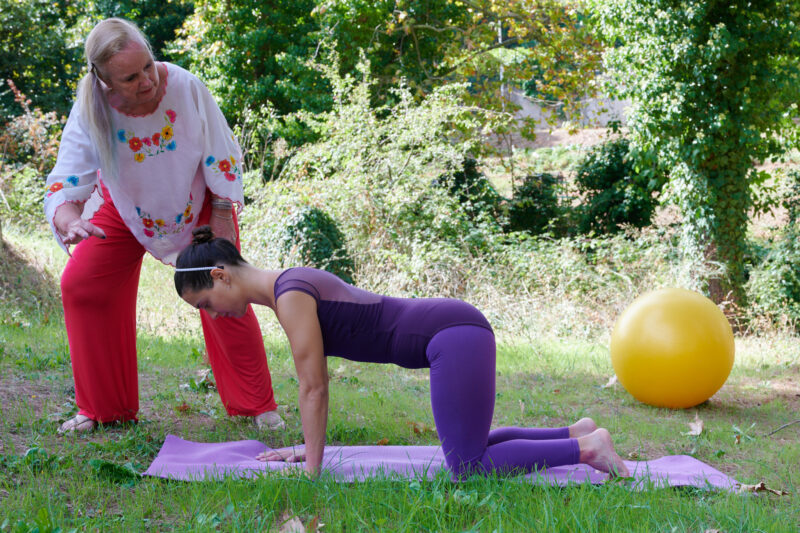
Thank you to Anastazia Filippopoulou, my teacher trainee, for letting me take these photographs and to share them with you.
Check out the video of the Swan on High Barrel on You Tube https://youtu.be/px6leaEHyEI